FreePBX Installation
As I’m predominantly a Cisco Voice and Data I thought I would give FreePBX a whirl to see how simple it was to carry out a FreePBX installation, the first thing that I need to point out is that the Free in FreePBX doesn’t mean its entirely Free, there are commercial modules that can only be used when purchased. The “Free” stands for Freedom which gives users such as myself the ability to build a solution to suit my needs that of the business that I support.
Please note that I’ve not checked the spec again my PC, if I were to install this on a live environment I would either choose an appliance such as a Sangoma which are 100% compatible with FreePBX, I would also consider a cloud-hosted solution if I didn’t want to purchase any additional hardware.
If you are UK based and would like to discuss any of you Voice and Data requirements then please drop us an email.
Requirements:
PC/Server/Raspberry Pi
4Gig or above flash drive
Firstly we need to download the full PBX ISO, I prefer to do this because I don’t want to spend time installing the Linux based operating system and then installing Asterisk onto of that, anything to help save me time and effort is an added bonus.
The version I’m using is for this FreePBX installation will be FreePBX 15 and downloaded from the official FreePBX site, whilst that’s downloading nip over to Sourceforfge and Win32 Disk Imager
Once both have downloaded, insert you flash drive and fire up Disk Imager, locate the ISO you download, make sure that your flash drive is selected and click Write.
**WARNING** The imager will format the drive that you tell it to, make sure you select the correct drive and that you have nothing on it that you may need later.

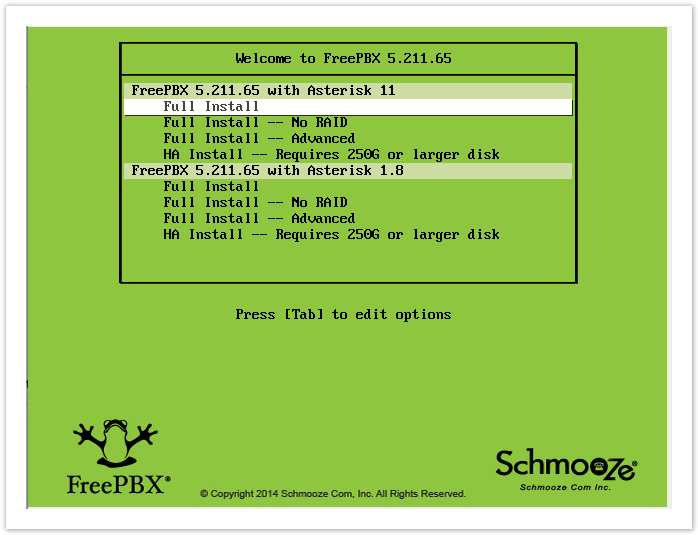
Once complete you will want to boot your PC/Server that you are going to use for the PBX to boot up from the USB flash drive first, this install will take around 45 minutes to complete so go and grab yourself a coffee.

During the install process, you will see this screen pop for you to enter a root password, use your tab key on your keyboard to move the password field and enter a strong root password, then let the install continue
Once the install is complete you are supposed to see something similar to the following, however, my server wasn’t getting a DHCP lease so the IP address was not showing.

Once complete you are supposed to be able to log in to the web interface using IP address, for some reason my Ethernet 0 kept shutting itself down after the server booted up. This is how I resolved it.
[root@freepbx ~]# more /etc/sysconfig/network-scripts//ifcfg-eth0
TYPE=Ethernet
PROXY_METHOD=none
BROWSER_ONLY=no
BOOTPROTO=dhcp
DEFROUTE=yes
IPV4_FAILURE_FATAL=no
IPV6INIT=yes
IPV6_AUTOCONF=yes
IPV6_DEFROUTE=yes
IPV6_FAILURE_FATAL=no
IPV6_ADDR_GEN_MODE=stable-privacy
NAME=eth0
UUID=21aa0950-7767-413a-a34f-fad6e42c56b6
DEVICE=eth0
ONBOOT=no # I changed this from no to yes, rebooted and I now have a DHCP lease
[root@freepbx ~]
Now I have an IP address from my DHCP server, I can now browse to the FreePBX to continue the setup.
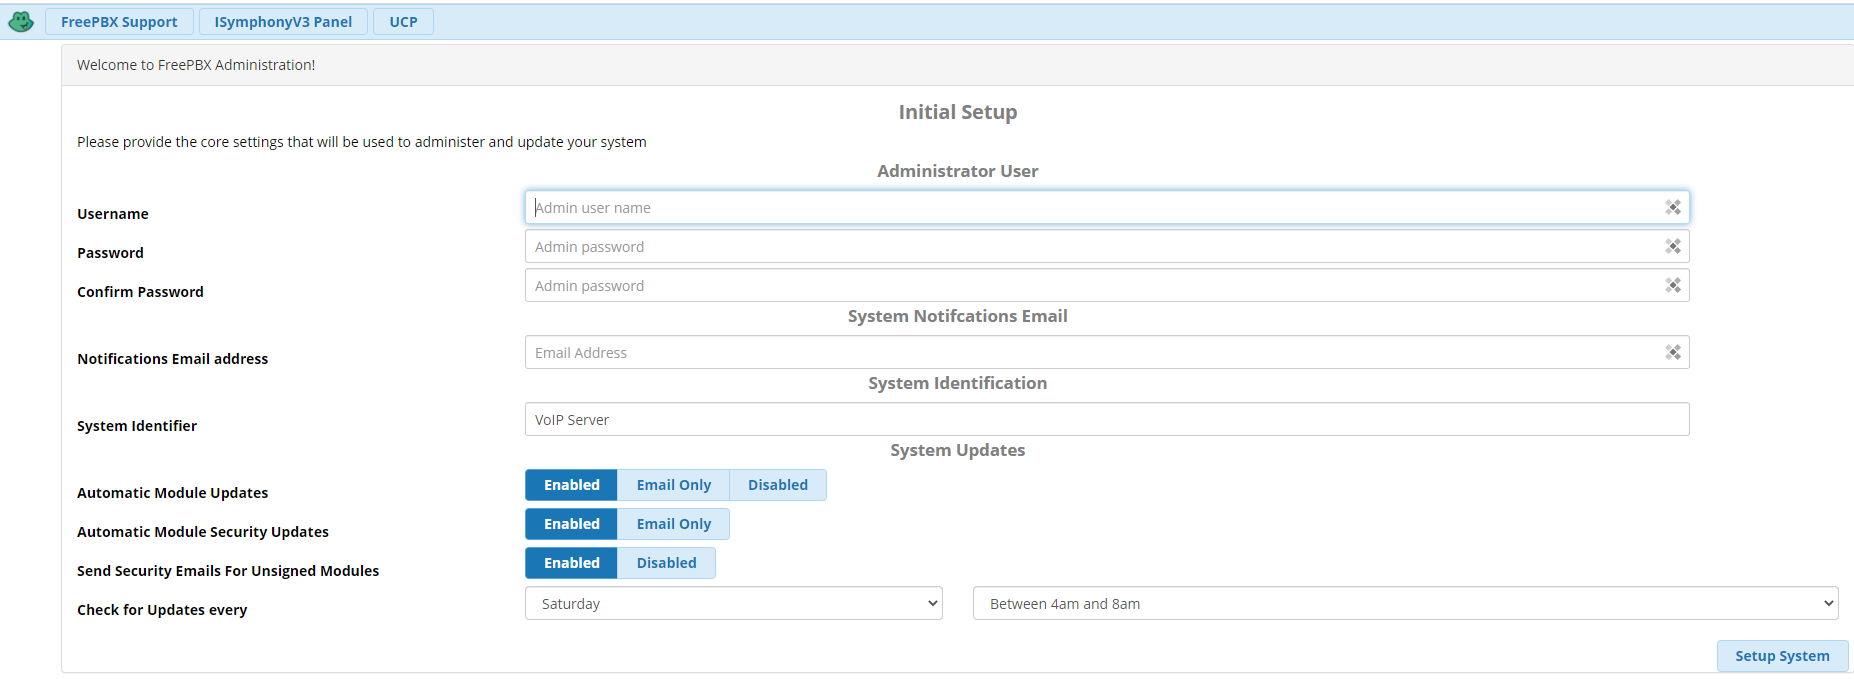
The first screen we see prompts us to create an admin account, enter the email address of the admin user, this will be used to be informed of system updates.

Next Click System Setup,
 Click on the FreePBX Administration link, not sure why anybody IT-related has to be seen wearing glasses but there we go, will be asked to activate our new system.
 You will need a Sangoma account to activate, if you have an account then enter your email address, if not head over to Sangoma to create one, its free to do so.
Next, select your language and time zone and click submit.

Next, you are asked to set up the firewall, it’s recommended that this is enabled even if you have one upstream of your FreePBX, step through the wizard, allow your local network to connect, at this point I didn’t enable the responsive firewall and I will look more into the firewall later on.
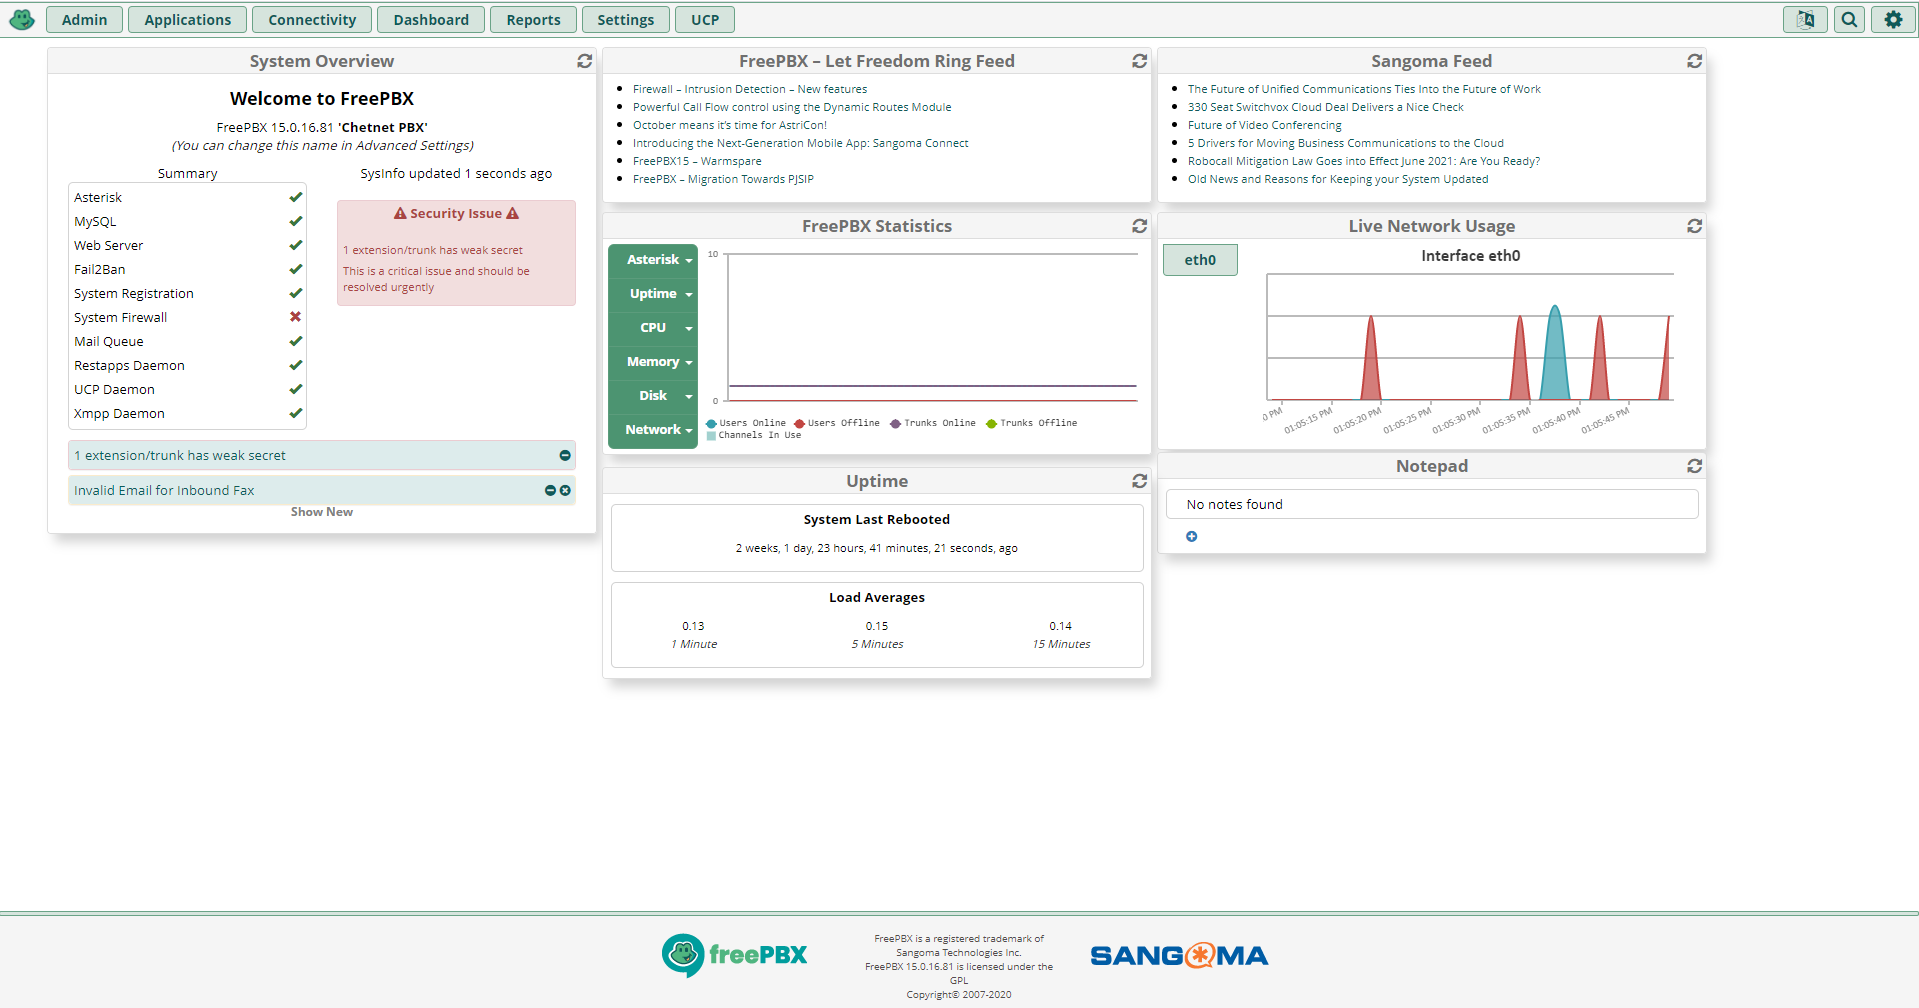
Now we get to see our first

The final step of this configuration I’m going to change the IP address from DHCP to Static, from the Admin tab (top left) select System Admin, then network settings on the right-hand side

Change from DHCP, enter the IP address that you want to use for the FreeBPX and then click save interface.
Well that was pretty painless for the initial FreePBX installation, I will also create a post on how to configure a phone along with using a SiP Trunk and making my first call to and from the new FreePBX installation
-End-

